
HDA2: ADAS connection reference
A reference preserving community wiring diagrams from the original manual.
Scope as of 2026-10-30: these physical vehicle pinouts were not validated in preparing this guide. Compare with service wiring diagrams matching the vehicle, year, connector and ECU, and with the current harness specification. Historical purchase links and part information are not current stock or suitability recommendations.
Check the current branch first
- Identify actual CAN / CAN-FD, HDA/ADAS configuration and connection point.
- Verify camera/ADAS harness pins, CAN High/Low and power using service information.
- Evaluate
HyundaiCameraSCC,CanfdHDA2andEnableRadarTracksfor the current interface and wiring. - Back up settings and, while parked, check vehicle recognition, gear, pedals and CAN errors.
Historical bulk setting values are not current recommended presets. A radar display or enabled CAMERA SCC does not validate longitudinal control, preserved AEB or wiring suitability.
Vehicle configuration · CAMERA SCC modes · Radar support.
Preserved historical diagrams and instructions
Read this historical material separately from current setup instructions.
Parts
MG656971-5, MG646151-5, existing comma 18-pin/26-pin harness, USB-C to USB-C 3.1 Gen 2 cable (2 m recommended in the original).
Or: Preassembled plug-to-plug harness (JM Tech N).
Unlike HDA1, this work is inside the cabin at the ADAS module.
Historical CANFD radar-track note
The historical text states that CANFD radar tracks became available after July 2025, by connecting A(A1)-CAN to BUS1. Current configuration-specific support must still be checked.
Difference from earlier HDA2 longitudinal wiring
- Earlier modifications brought two E-CAN signal wires from ADAS to comma.
- The ADAS-side method relocates the harness box to the ADAS module and runs only a USB-C cable to comma.
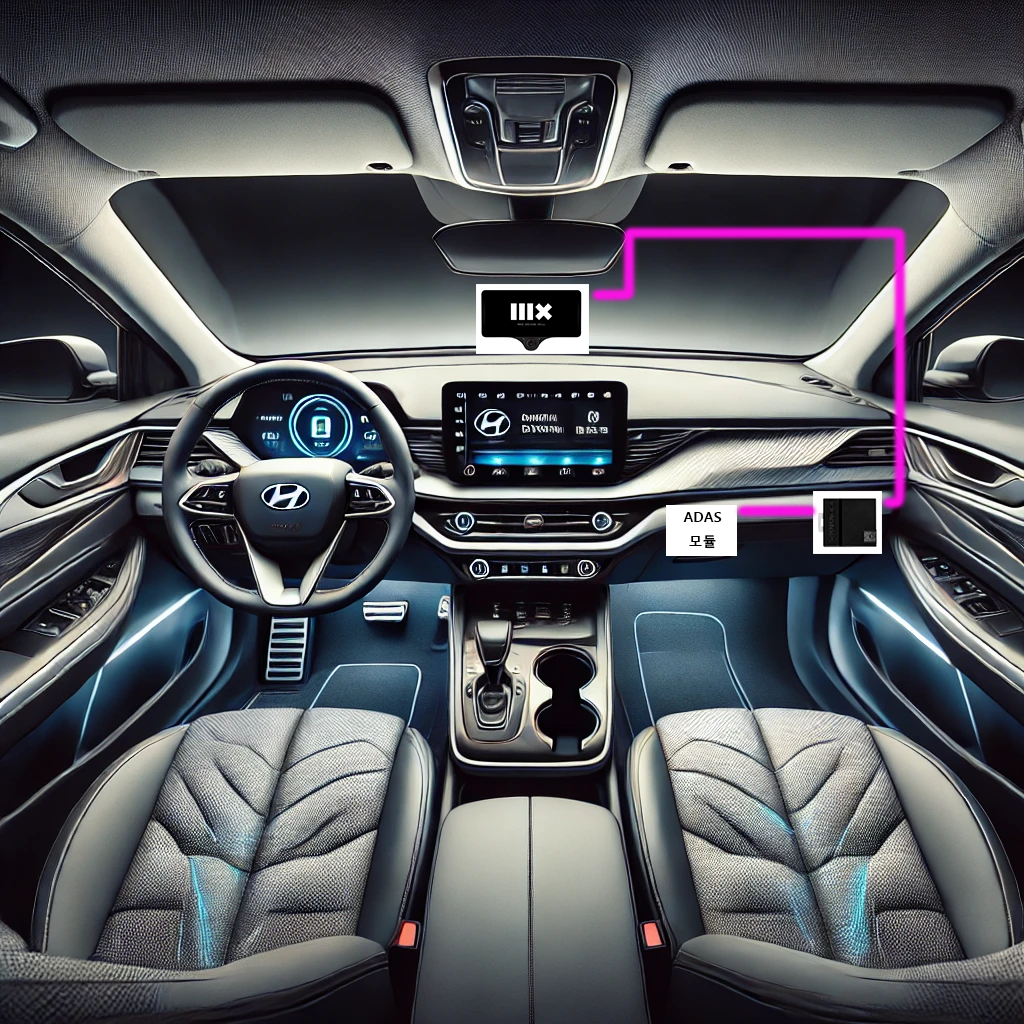
Harness construction principle
- Bypass the existing comma harness's camera side.
- Connect only ADAS E-CAN to harness bus2.
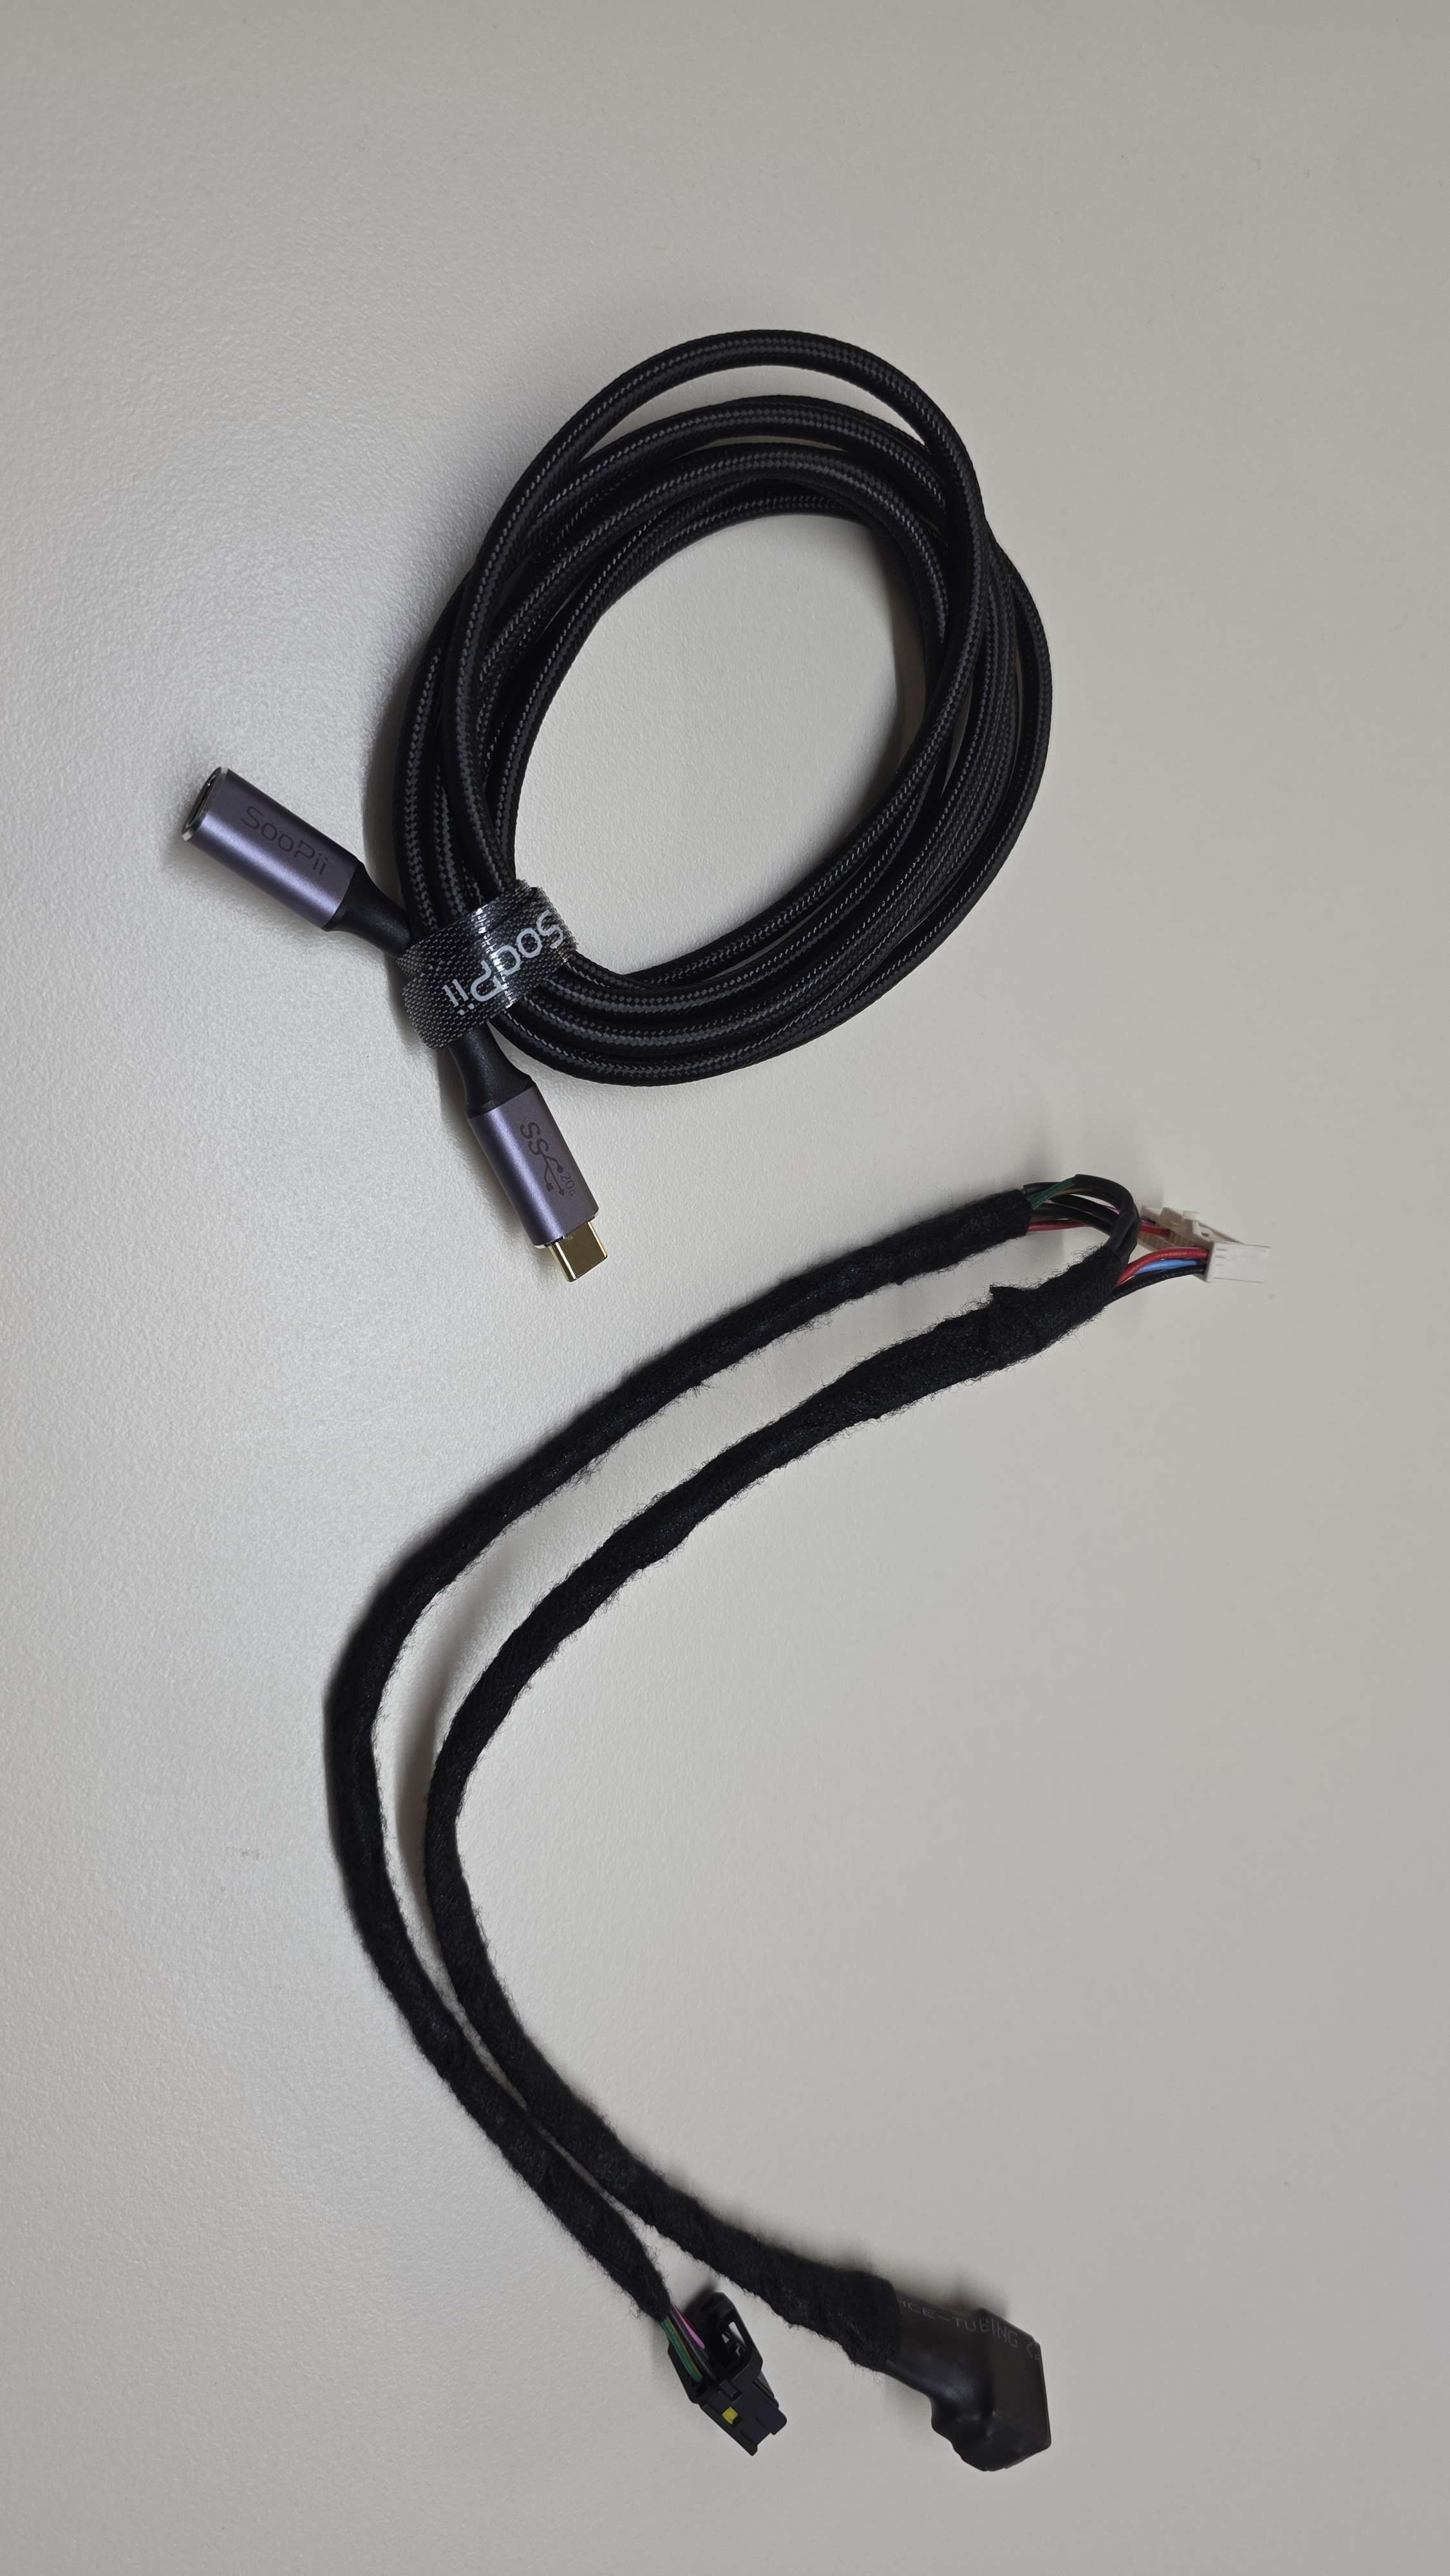
The historical text offers Preassembled plug-to-plug harness (JM Tech N) as an alternative to making the harness.
In the vehicle
- Locate the ADAS module using Hyundai GSW · KIA GSW.
- Remove the original connector at the ADAS module and connect the constructed harness.
- Secure the harness box suitably and connect it to comma with the USB-C 3.1 Gen 2 cable.
Checks and records after work
Record before/after harness photographs, parts, model year, settings and commit. Stop using the configuration if errors or recognition mismatches occur and seek validation for the same configuration. Retain diagram credits and recheck connector orientation/pin numbers against the actual part.
Source reference
Reference checked 2026-10-30 · carrot-wip · 10bf0a56.
README.md · opendbc_repo/opendbc/car/hyundai/interface.py · openpilot/selfdrive/carrot_settings.json
The development branch continues to change. Check your device’s branch, commit and current settings together.